Welcome to 5 inch LCD repository
How to write the Raspberry Pi system image
1. You need a 16G SD card and card reader,above Class4.
2. You need to use a tool to write the Raspberry Pi system image:Win32DiskImager.zip
(Note : This software in the Tools folder)
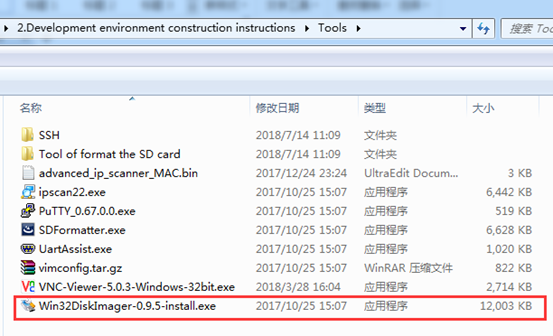
You can double-click and install it by following the steps below.
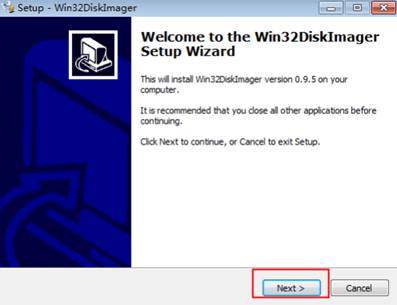
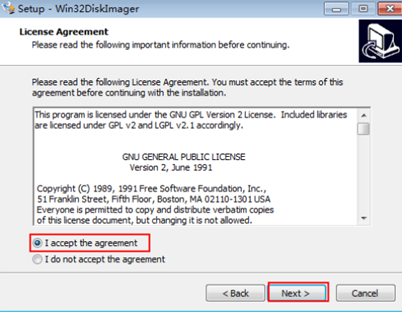
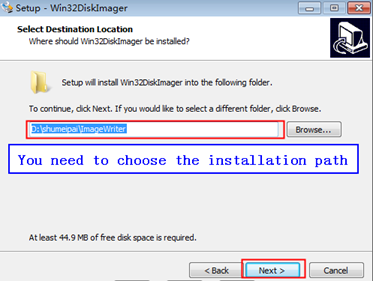
The next interface needs to click NEXT.
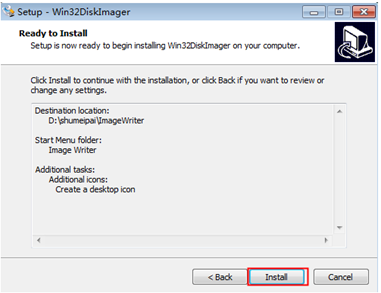
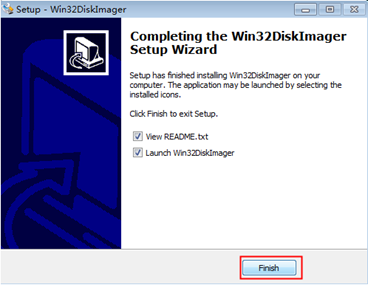
Finally, the following figure appears on the desktop, installed successfully.
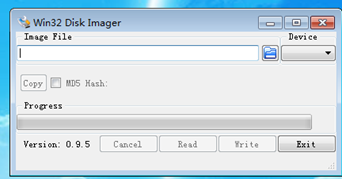
Format the SD card:
Before writing the system image, you need to format your SD card. You need to connect the SD card to the computer with a card reader.
You need to use a tool to format the SD card:SDFormatter.exe
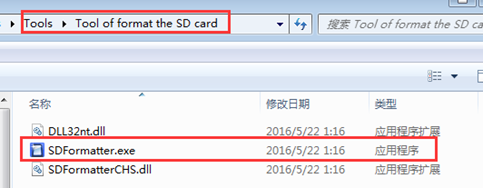
(Note : This software in the Tool of format the SD card folder of Tools folder)
1.You need to unzip the downloaded system image compression file to obtain the img image file.
2. You need to connect the SD card to the computer with a card reader.
3. Running the Win32DiskImager-0.9.5-install.exe .
4. You need to select img file in the software, select the SD , and then click"Write". As shown below.(for exmaple)
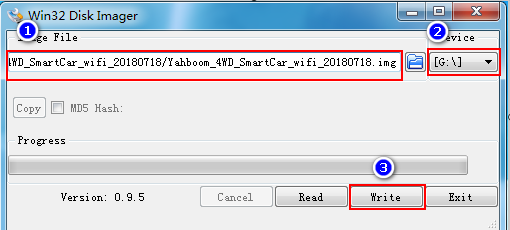
5. After the write is completed, a completion dialog box will pop up. If it is not successful, you need to turn off the software such as firewall and re-insert SD to write. You will see that SD possess only 74MB capacity, which is normal, because the disk partition in the linux can not be seen in the win!

After the above steps, the system image of the Raspberry Pi has been written into the SD card successfully .

