Use MIPI camera
Use MIPI cameraConfigure the cameraUse the cameraPreview the cameraTake a photorpicam-stillVideo recordingrpicam-vidError solution
Raspberry Pi 5 combines the previous CSI and DSI interfaces into two dual-purpose CSI/DSI (MIPI) ports.
Configure the camera
To use the Raspberry Pi camera or a third-party camera, you can modify the camera configuration according to the table below:
| Camera module | File located at: /boot/firmware/config.txt |
|---|---|
| V1 camera (OV5647) | dtoverlay=ov5647 |
| V2 camera (IMX219) | dtoverlay=imx219 |
| HQ camera (IMX477) | dtoverlay=imx477 |
| GS camera (IMX296) | dtoverlay=imx296 |
| Camera module 3 (IMX708) | dtoverlay=imx708 |
| IMX290 and IMX327 | dtoverlay=imx290,clock-frequency=74250000 or (both modules share IMX290 kernel driver; for the correct frequency, refer to the module vendor's instructions) dtoverlay=imx290,clock-frequency=37125000 |
| IMX378 type | dtoverlay=imx378 |
| OV9281 series | dtoverlay=ov9281 |
If you are not using the official Raspberry Pi camera, you can modify the config.txt file according to the content above the table and add the dtoverlay content to the /boot/firmware/config.txt file.
sudo nano /boot/firmware/config.txt

For example: Raspberry Pi uses IMX219 camera, connect the camera to the J4 interface of Raspberry Pi, and then modify the /boot/firmware/config.txt file:
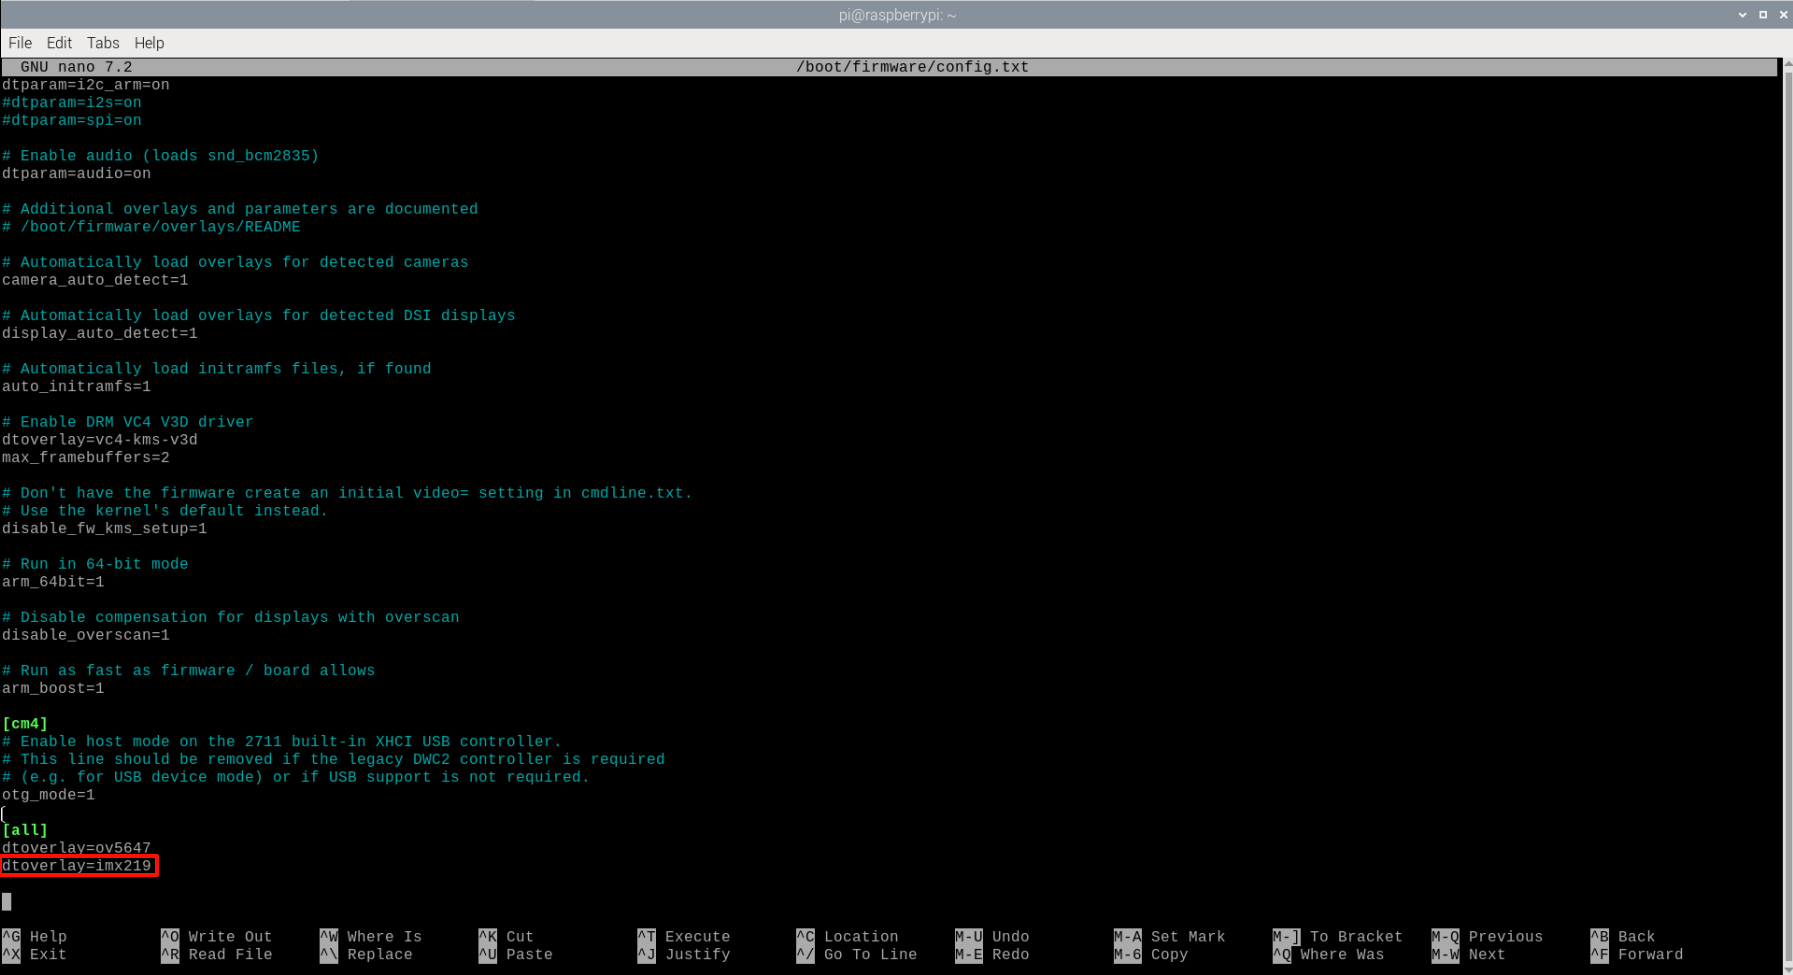
xxxxxxxxxxThe IMX219 camera needs to be connected to the J4 interface of Raspberry Pi 5 to be recognized!dtoverlay=ov5647 and dtoverlay=imx219 refer to the Raspberry Pi wide-angle camera and IMX219 camera respectively!
Modify the configuration file and restart to take effect!
Use the camera
Preview the camera
- rpicam-hello
Type this command in the terminal to display the preview window for about 5 seconds
- rpicam-hello -t 0
Running this command in the terminal will keep the preview window displayed. You can exit it by using the window close button and Ctrl+C keys!
Take a photo
- rpicam-jpeg -o test.jpg
Display a 5-second preview, then capture the image and save it as a test.jpg file
- rpicam-jpeg -o test.jpg -t 2000 --width 640 --height 480
Display a 2-second preview, then capture the image and save it as a test.jpg file. The image is 640 pixels wide and 480 pixels high.
rpicam-still
This command can be used to save files in different formats:
xxxxxxxxxxrpicam-still -e png -o test.pngrpicam-still -e bmp -o test.bmprpicam-still -e rgb -o test.datarpicam-still -e yuv420 -o test.data
- Raw image capture
xxxxxxxxxxrpicam-still -r -o test.jpg
- Time-lapse
Capture images continuously at 2 second intervals for a total capture time of 30 seconds and save each image with a file name format like image0001.jpg:
xxxxxxxxxxrpicam-still -t 30000 --timelapse 2000 -o image%04d.jpg
Video recording
rpicam-vid
Command for video recording using the camera module on the Raspberry Pi.
Example: Record 10 seconds of video and write it to the test.h264 file
xxxxxxxxxxrpicam-vid -t 10000 -o test.h264
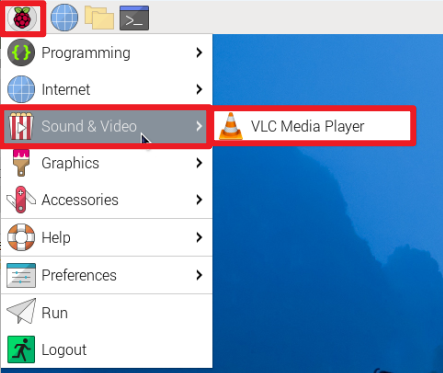
Play video
xxxxxxxxxxvlc test.h264
Note: If the test.h264 file cannot be played and an error occurs, please try the following method to solve it.
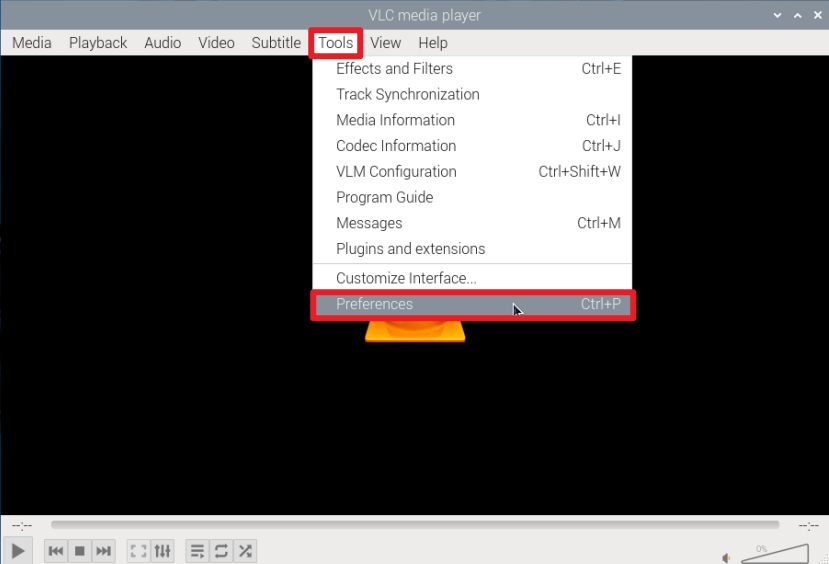
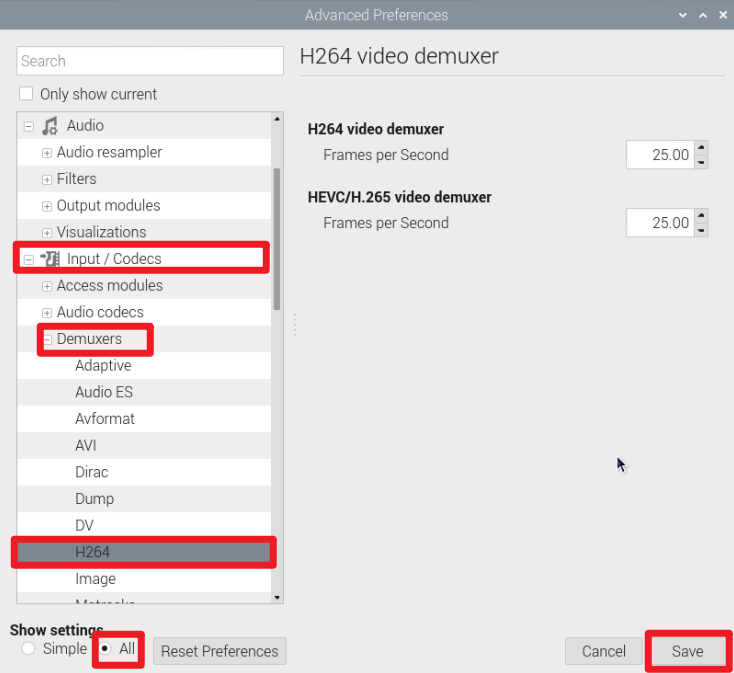
Error solution
Modify the frame rate of H264 playback per second