Robot development environment setup in docker
6.1. Use jupyter lab to access docker
- Enter the container, see [5. Enter the robot's docker container], and execute the following command:
Note: When using jupyter lab in a docker container, the docker container must be run in the host networking mode: add the "--net=host" parameter when running the container
xxxxxxxxxxroot@ubuntu:/# jupyter lab --allow-root[I 2023-04-24 09:27:45.265 ServerApp] Package jupyterlab took 0.0001s to import[I 2023-04-24 09:27:45.277 ServerApp] Package jupyter_server_fileid took 0.0096s to import[I 2023-04-24 09:27:45.297 ServerApp] Package jupyter_server_terminals took 0.0190s to import[I 2023-04-24 09:27:45.429 ServerApp] Package jupyter_server_ydoc took 0.1301s to import[I 2023-04-24 09:27:45.431 ServerApp] Package nbclassic took 0.0001s to import..................
- View on other devices, open in windows or ubuntu browser (must be in the same LAN, 192.168.2.102 is the IP address in the docker container)
xxxxxxxxxxhttp://192.168.2.102:8888/lab # Enter the jupyter lab of the hosthttp://192.168.2.102:8889/lab # Enter the jupyter lab in the containerEnter the password: yahboom to enter jupyter lab
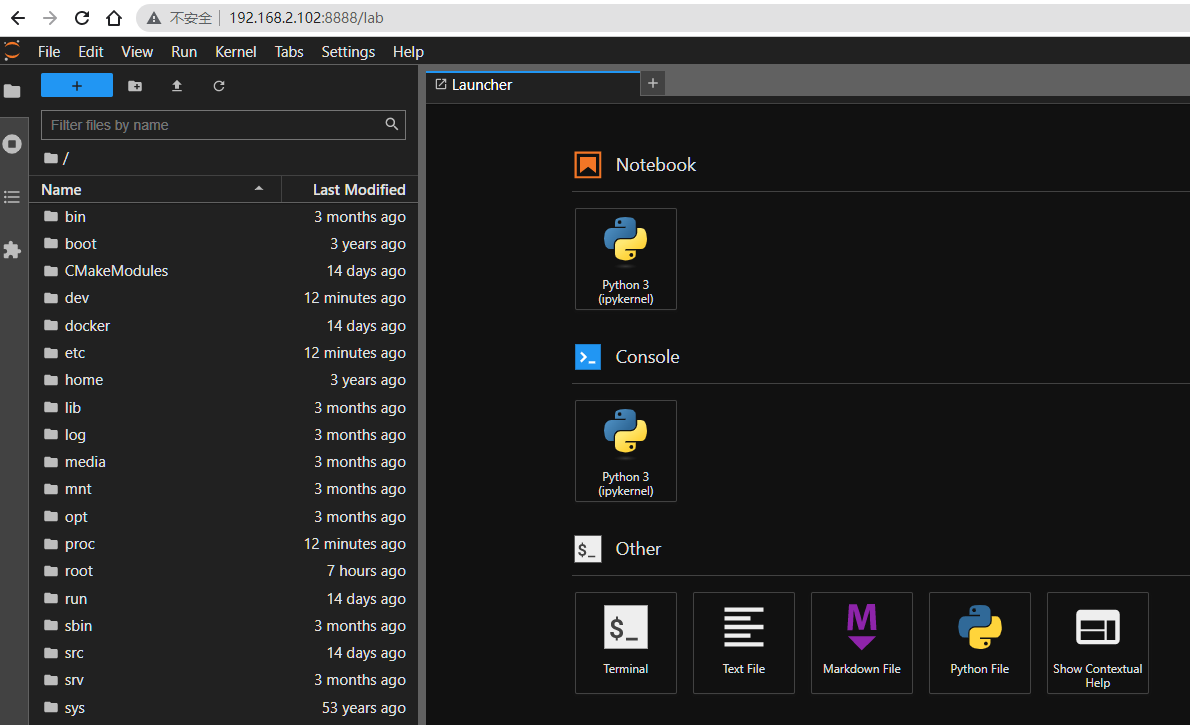
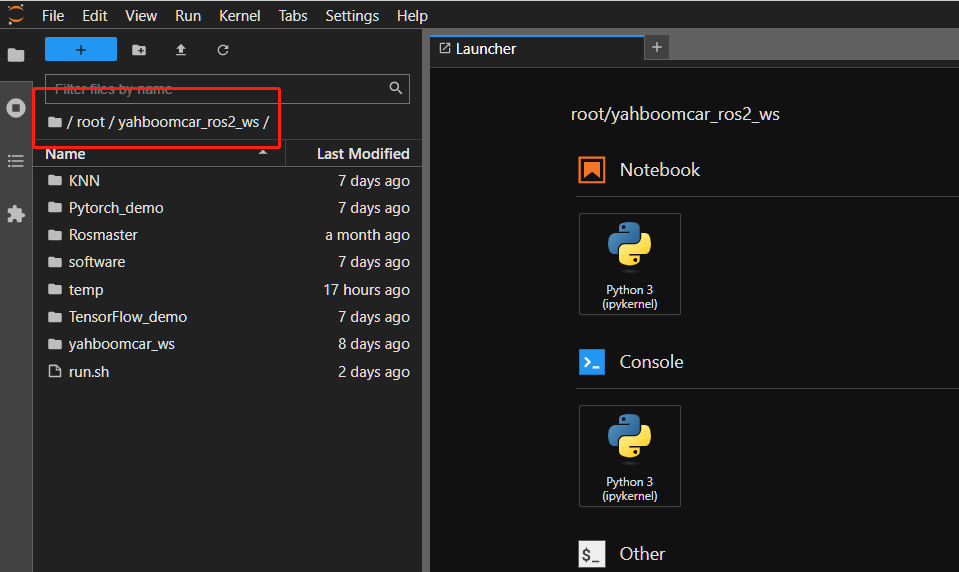
The following directory is the project path of the robot:
6.2, Use vscode to access docker
Here we take the example of configuring vscode to access the docker container in windows, and the steps to access docker in ubuntu are basically the same.
6.2.1, Remote Configuration
See [IV. Linux Operating System ---- 7.SSH Remote Control] section
Make sure Windows can remotely log in to the Docker host [car]:
xxxxxxxxxxOpen cmd in Windows and enter the ssh command test: ssh jetson@192.168.2.102 (change the username and IP to your own)Or use remote tools: putty, xshell, securecrt, winscp, mobaxterm, finalshell, etc., mobaxterm is recommended.
6.2.2, Configure password-free login
Some of the above steps may require the host password, so optimize it here and configure password-free login.
- First, test by opening the cmd command on Windows and using ssh to log in to the host machine [Xiaoche]. The command is as follows:
xxxxxxxxxxssh jetson@192.168.2.102 (change the user name and IP to your own)
At this time, you will find that you need to enter the host machine password
- Next, configure password-free login
(1) Add environment variables
Take Windows 10 as an example, open: This computer---Properties---Advanced system settings---Environment variables, open the environment variable properties page. Click New in the user variable section, the variable is HOME, the value is C:\Users\name, where name is the user name. You can check the user name of your computer by yourself. The key pair generated later is saved in this directory by default.

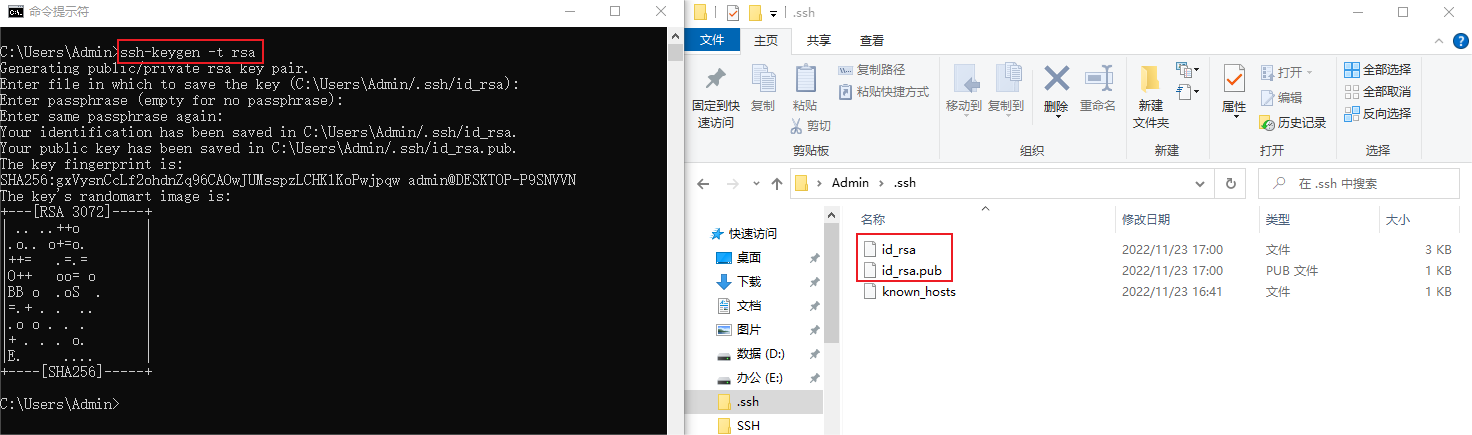
(2) Generate a key pair
Open the cmd command line and run it in the directory where the ssh program is located, or run the [ssh-keygen -t rsa] command anywhere after adding the system environment to generate the key. Then press Enter all the way. When you see a rectangular image generated, the key generation is successful. At this time, there will be two more files in the .ssh folder of the user directory, namely id_rsa (private key) and id_rsa.pub (public key)
(3) Add the public key to the host machine
First, check whether the .ssh directory already exists in the user root directory of the host machine. If not, execute the above "(2) Generate a key pair" step to add the .ssh directory.
Secondly, check whether there is an authorized_keys file in the .ssh directory. If not, execute the following two commands to add it:
xxxxxxxxxxtouch ~/.ssh/authorized_keyschmod 600 ~/.ssh/authorized_keysThen, open the Windows cmd command line and enter
xxxxxxxxxxssh username@host "cat >> ~/.ssh/authorized_keys" < C:\Users\name\.ssh\id_rsa.pubNote: The above "C:\Users\name\.ssh\id_rsa.pub" path is modified according to your own Windows computer path#For example: modify according to your own situationssh jetson@192.168.2.102 "cat >> ~/.ssh/authorized_keys" < C:\Users\Admin\.ssh\id_rsa.pubThis command first logs in to the host machine, and then adds the local public key under Windows to the personal directory of the host account, thereby achieving password-free login. Note that you need to enter the password of the host account in this step.
(4) Verification
Test again by opening the cmd command on Windows and using ssh to log in to the host [car]. The command is as follows:
xxxxxxxxxxssh jetson@192.168.2.102 (change the username and IP to your own)
You will find that you no longer need to enter a password.
6.2.3, vscode configuration
6.2.3.1, download and install vscode
vscode official website: https://code.visualstudio.com/, download the windows version installation
6.2.3.2, vscode configuration ssh remote login to the host machine
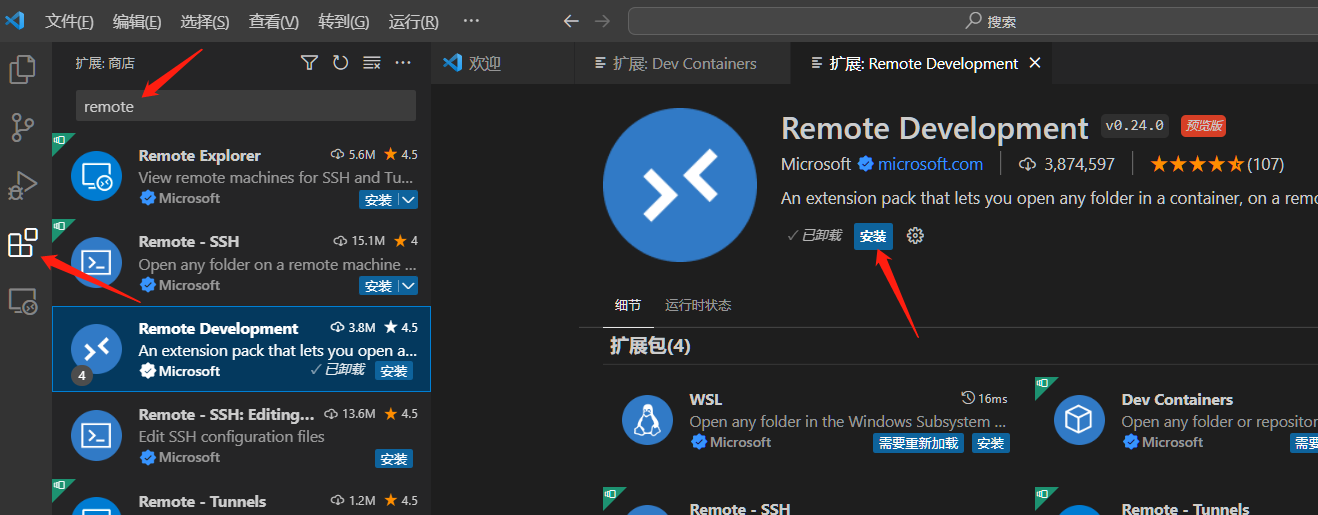
- Open vscode, click the arrow icon on the left bottom, then enter remote in the search box, select Remote Development plug-in, click Install to install the plug-in
vscode is installed in English by default, you can install the Chinese plug-in to localize it:
- In vscode, press the shortcut key [ctrl + shift + p] to open the command input window, enter: remote, and then log in to the remote host [car] according to the instructions in the figure below.
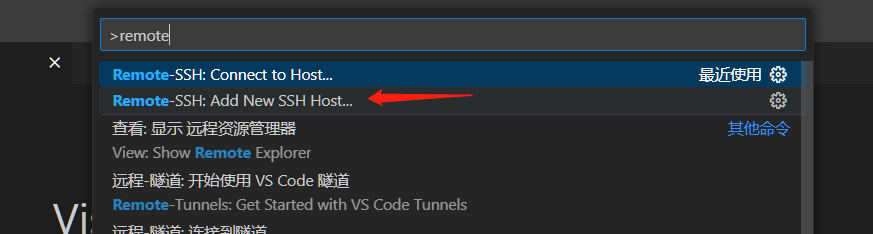


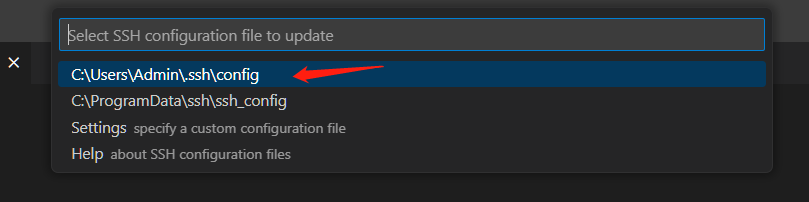
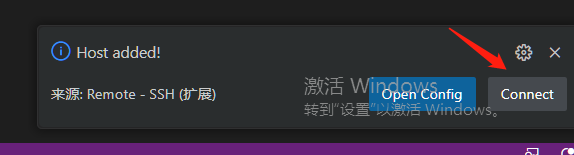
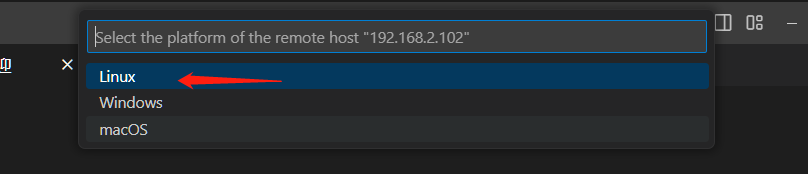
If you see the above picture, it means that you have successfully logged in to the host remotely.
6.2.3.3, Enter the robot container
See the tutorial in [5. Enter the robot's docker container] section to enter.
6.2.3.4, vscode remote host configures docker environment
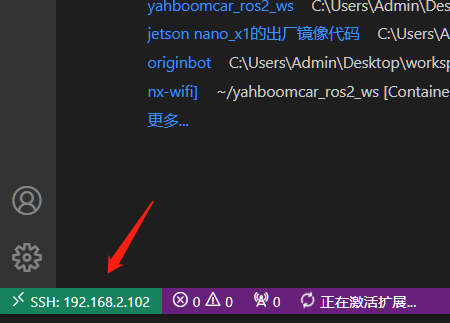
- Install the docker plug-in on the remote host [car]
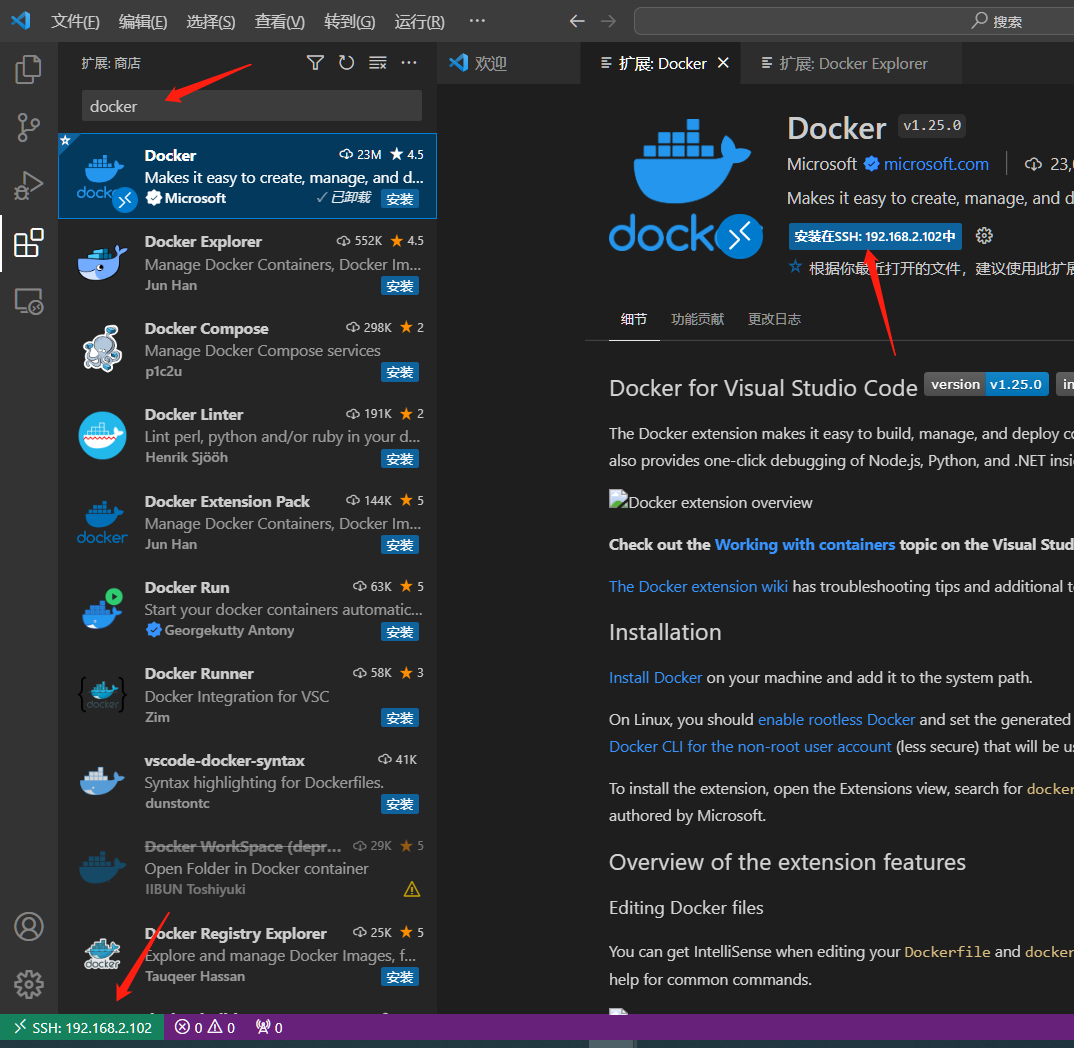
- After the installation is complete, a docker icon will appear in the navigation bar on the left
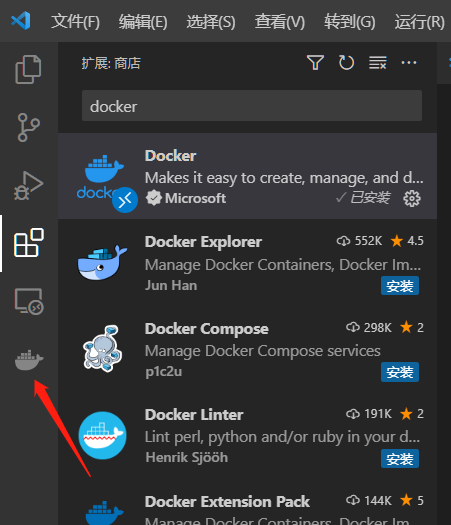
- Click the docker icon
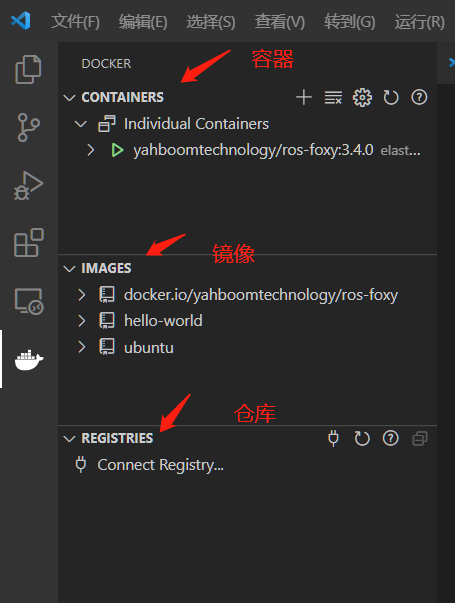
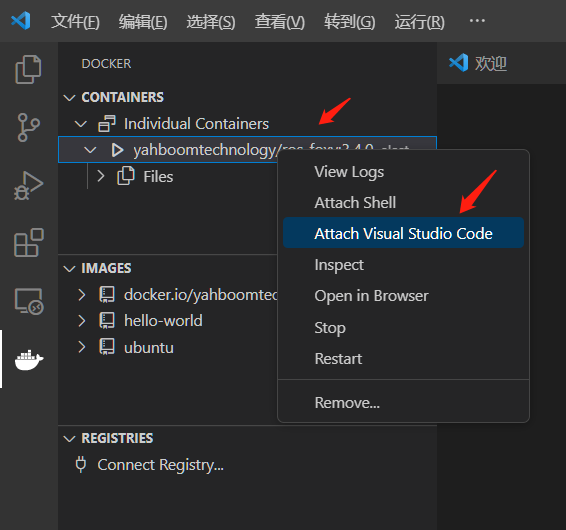
- Right-click the running container and follow the steps below:

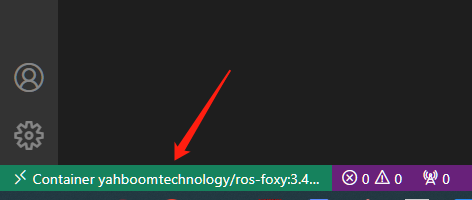
- A new window will open and you will see the following message indicating that you have entered the container
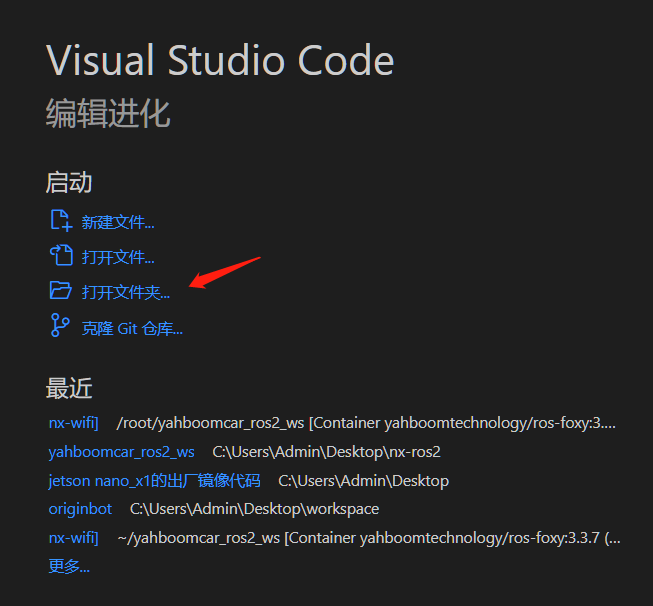
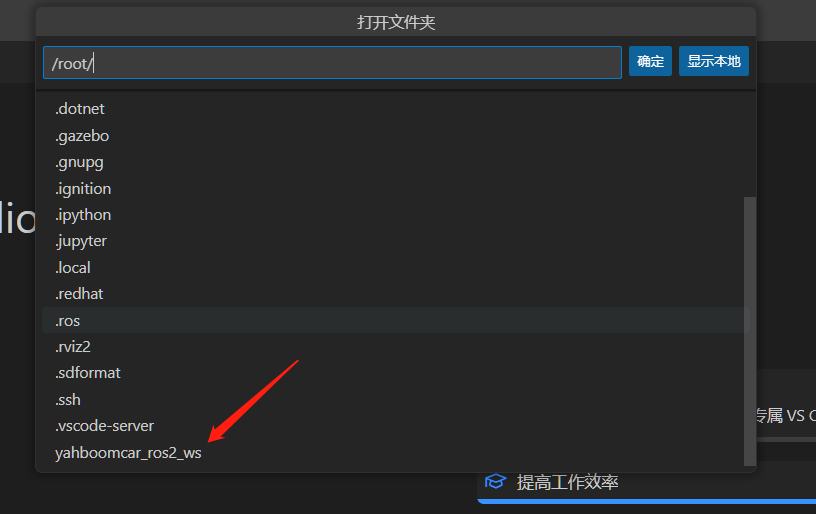
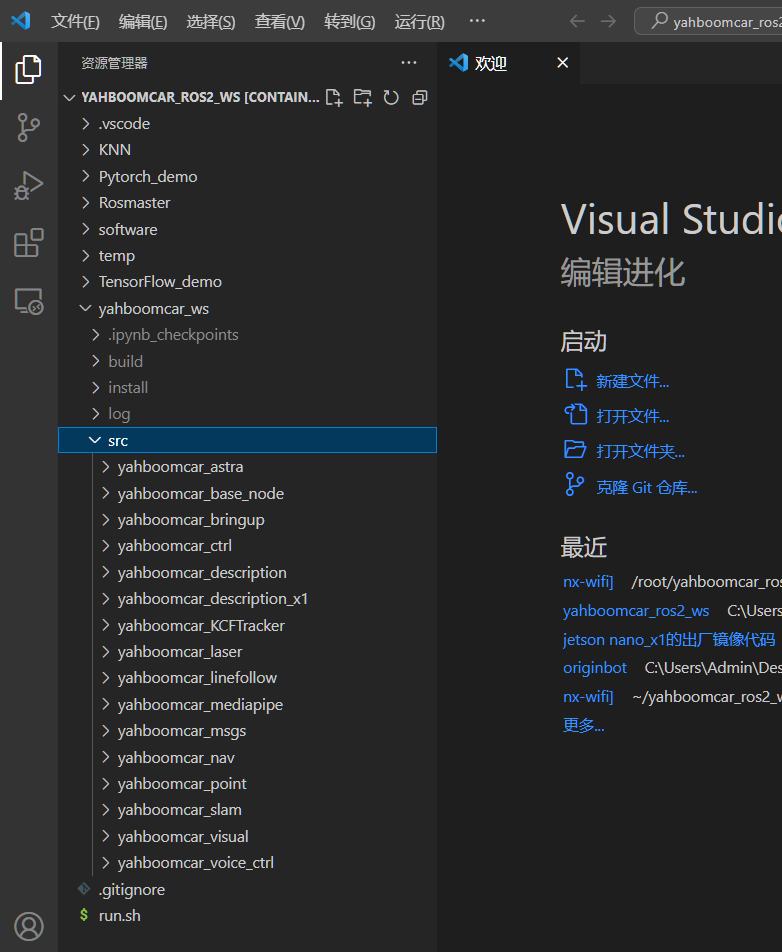
- Open the folder
xxxxxxxxxx/root/yahboomcar_ros2_ws # This is the project path of the robot

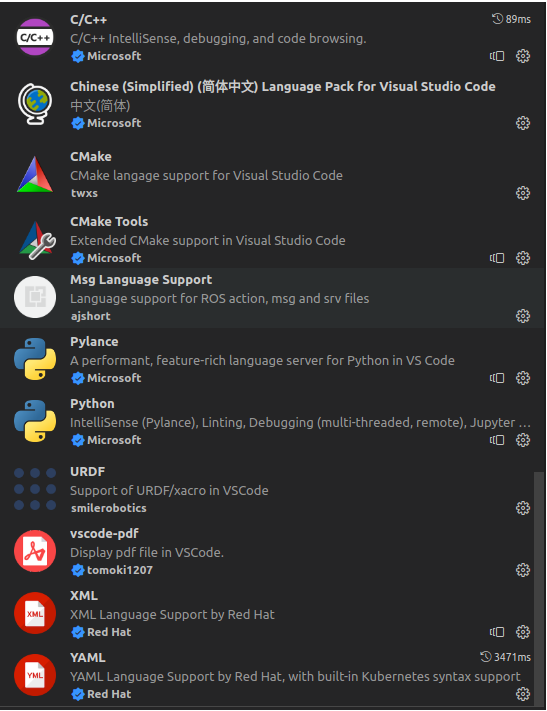
- Similarly, we can also install the plug-ins we need in the container to facilitate our development
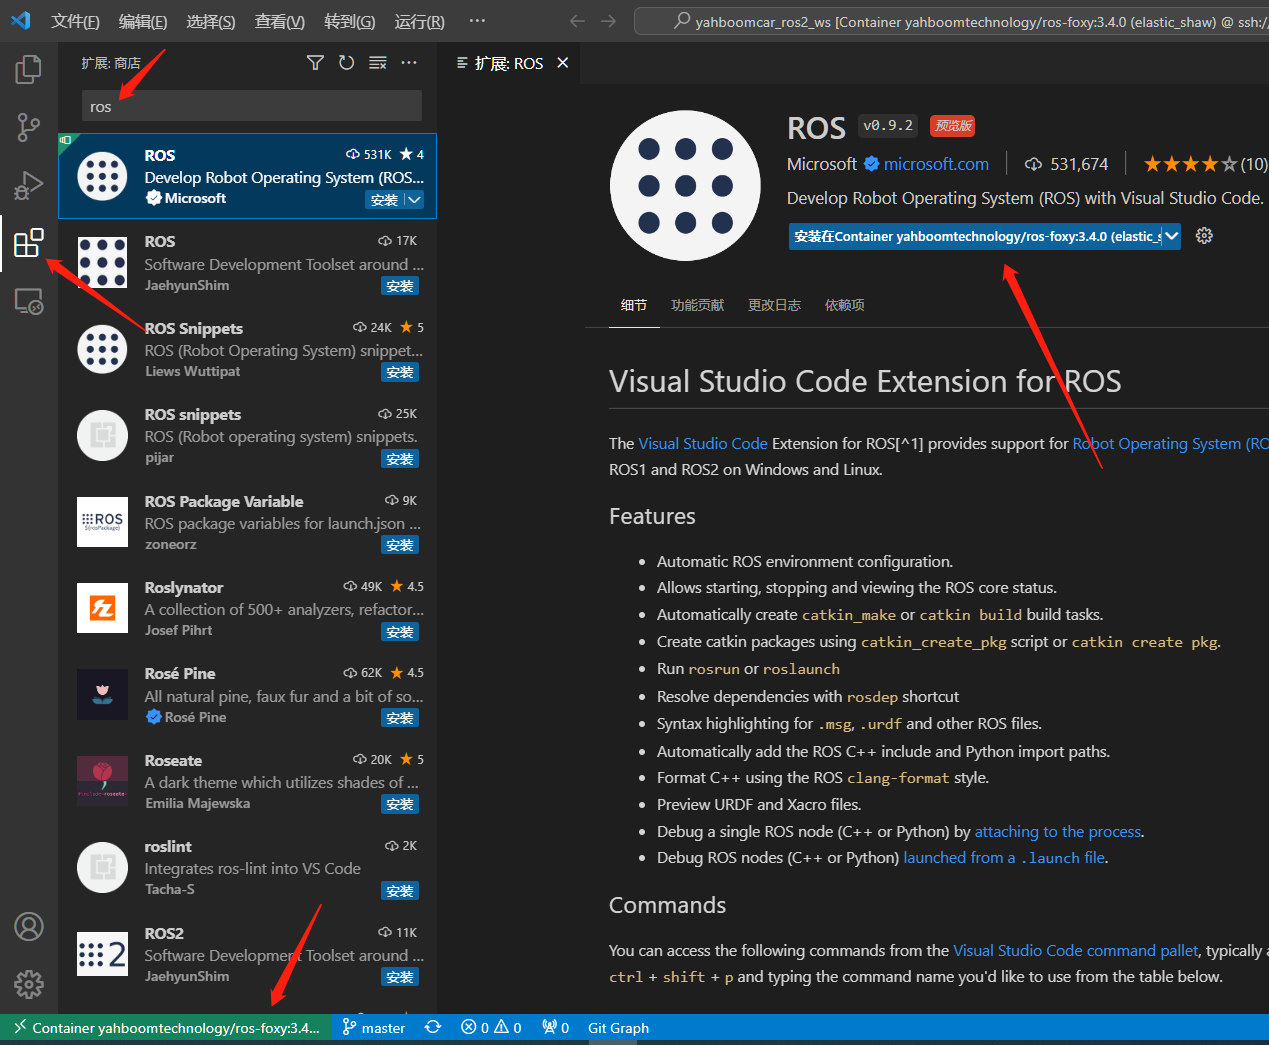
In addition to ros, the plug-ins recommended for installation are:
After completing the above steps, you can operate the code files in the container to develop and learn.