ROS Robot APP mapping
Note: The virtual machine needs to be in the same LAN as the car, and the ROS_DOMAIN_ID needs to be consistent. You can check [Must read before use] to set the IP and ROS_DOMAIN_ID on the board.
1. Program function description
The car connects to the agent, runs the program, opens the [ROS Robot] app downloaded on the mobile phone, enters the IP address of the car, selects ROS2, and clicks connect to connect to the car. You can control the car by sliding the wheel on the interface, and slowly control the car to complete the mapped area. Finally, click Save Map, and the car will save the currently constructed map.
2. Start and connect to the agent
Taking the supporting virtual machine as an example, enter the following command to start the agent:
sudo docker run -it --rm -v /dev:/dev -v /dev/shm:/dev/shm --privileged --net=host microros/micro-ros-agent:humble udp4 --port 8090 -v4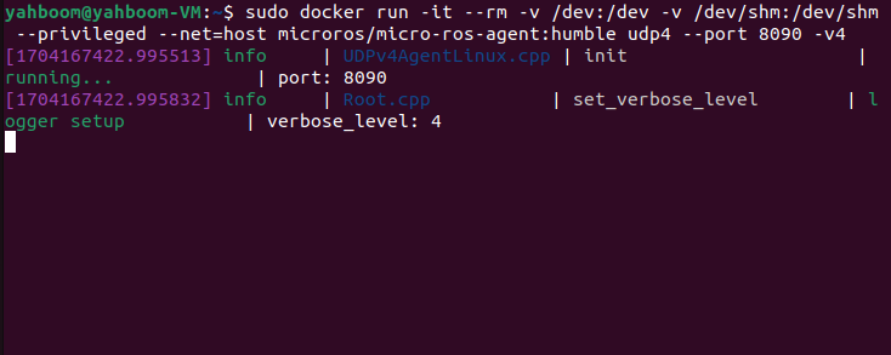
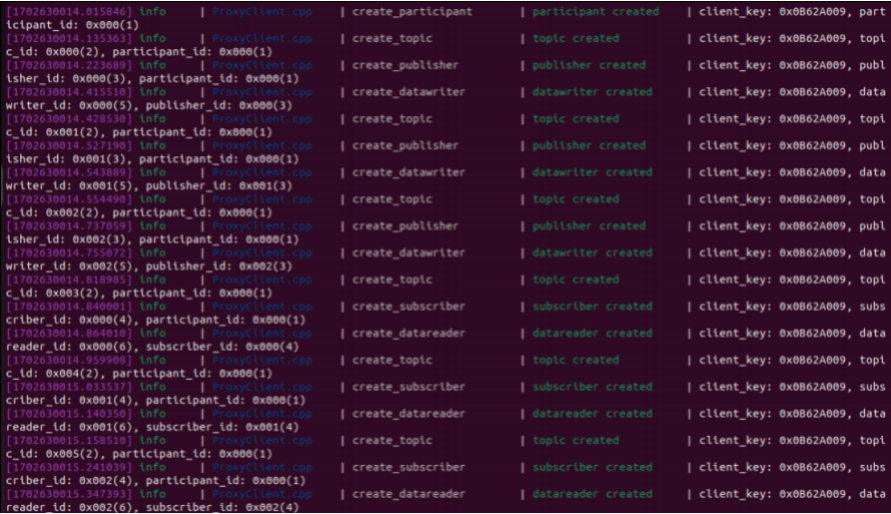
Then, turn on the car switch and wait for the car to connect to the agent. The connection is successful, as shown in the figure below.
3. Start the program
First, start the car to process the underlying data program and enter the terminal.
xxxxxxxxxxros2 launch yahboomcar_bringup yahboomcar_bringup_launch.py
Start the APP mapping command and enter it in the terminal,
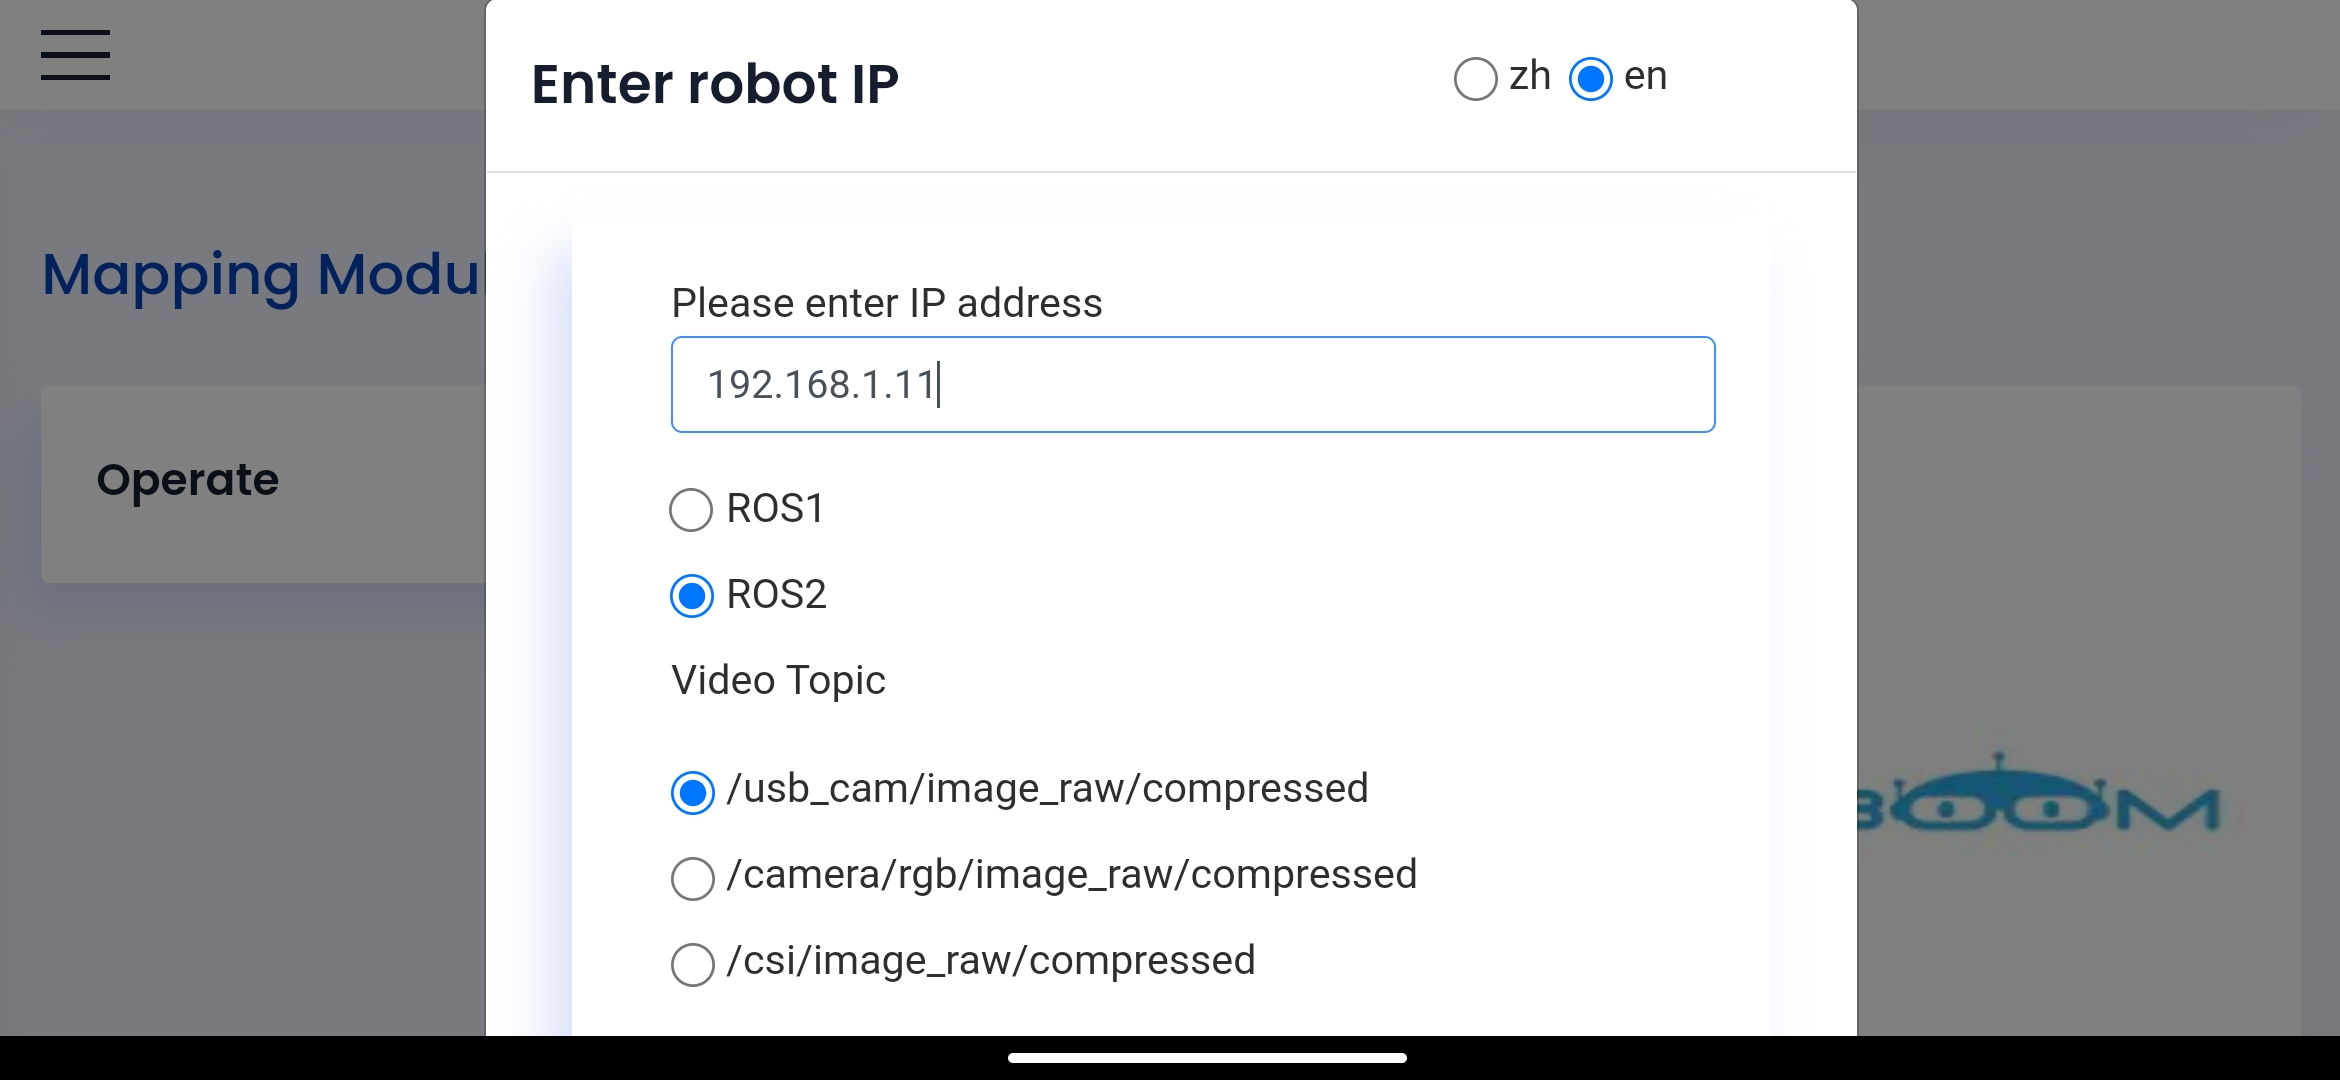
xxxxxxxxxx#Choose one of the following drawingsros2 launch yahboomcar_nav map_gmapping_app_launch.xmlros2 launch yahboomcar_nav map_cartographer_app_launch.xmlThe mobile APP displays as shown below, enter the IP address of the car, [zh] means Chinese, [en] means English; select ROS2, the Video Tpoic below can be selected at will, and finally click [Connect]
After successful connection, the following is displayed:
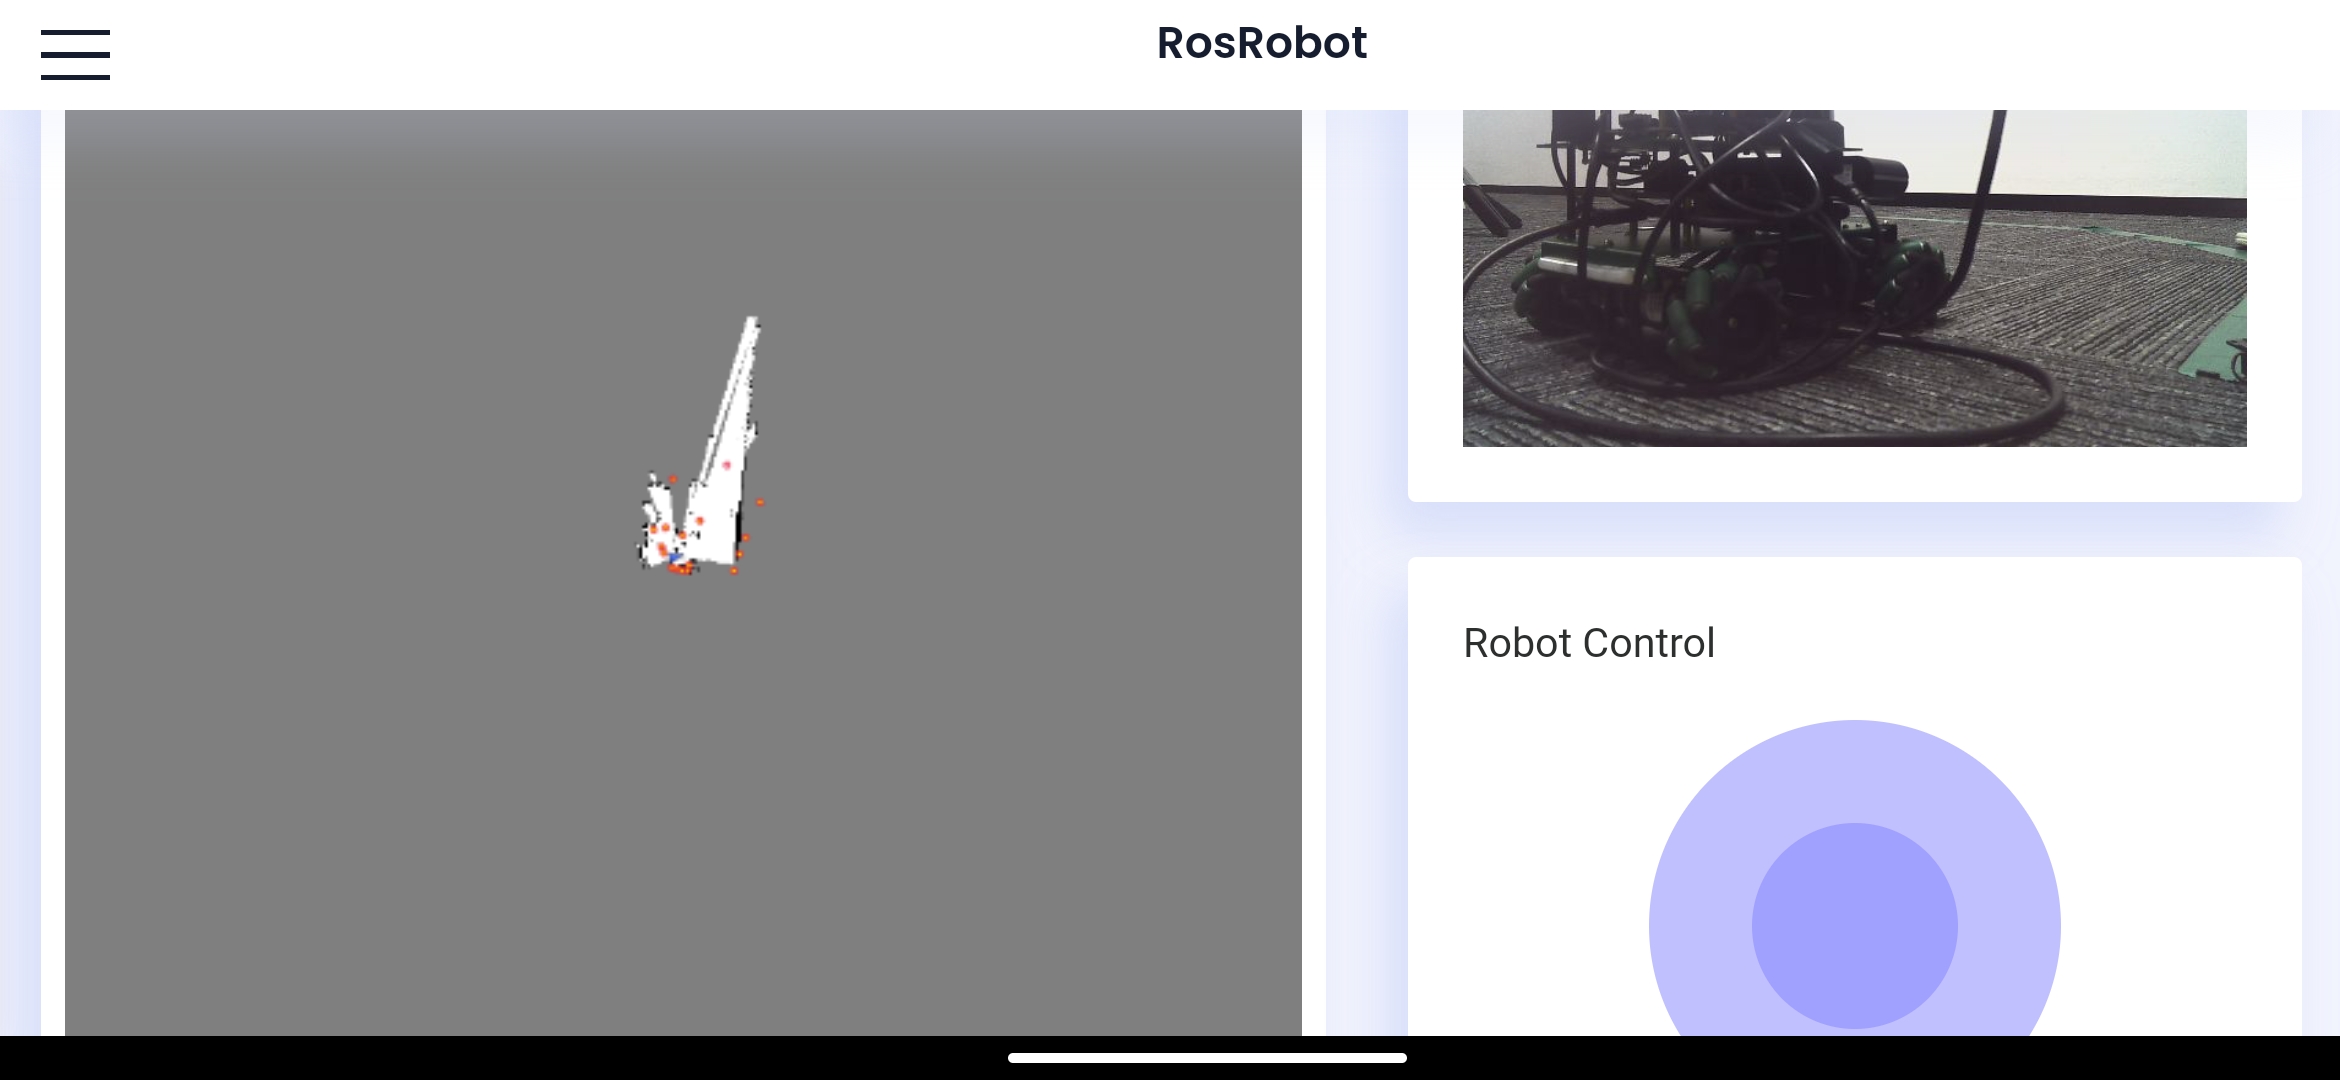
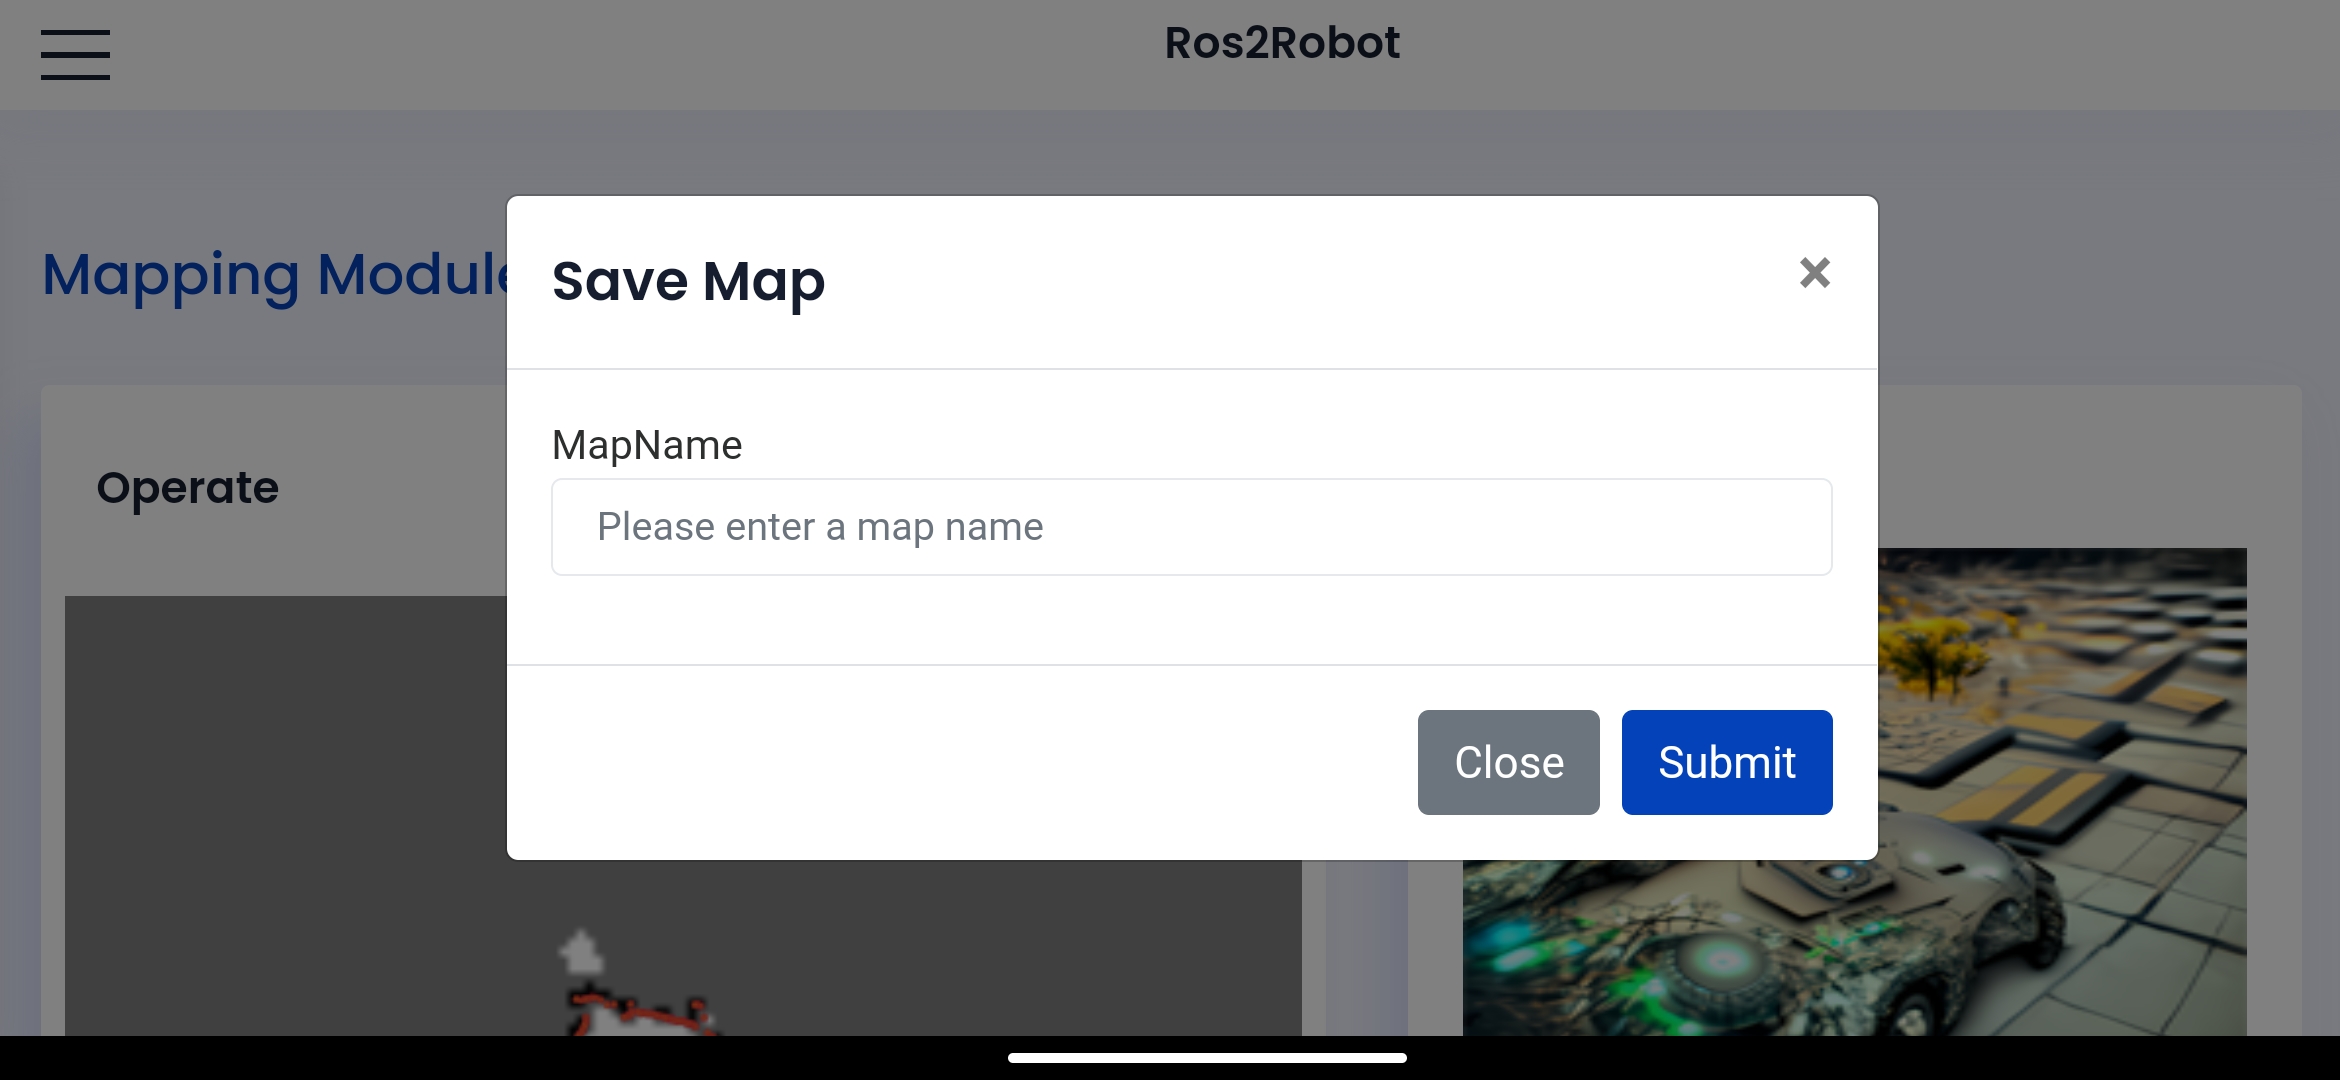
Use the sliding wheel to control the car to move slowly through the area that needs to be mapped, then click to save the map, enter the map name and click submit to save the map.
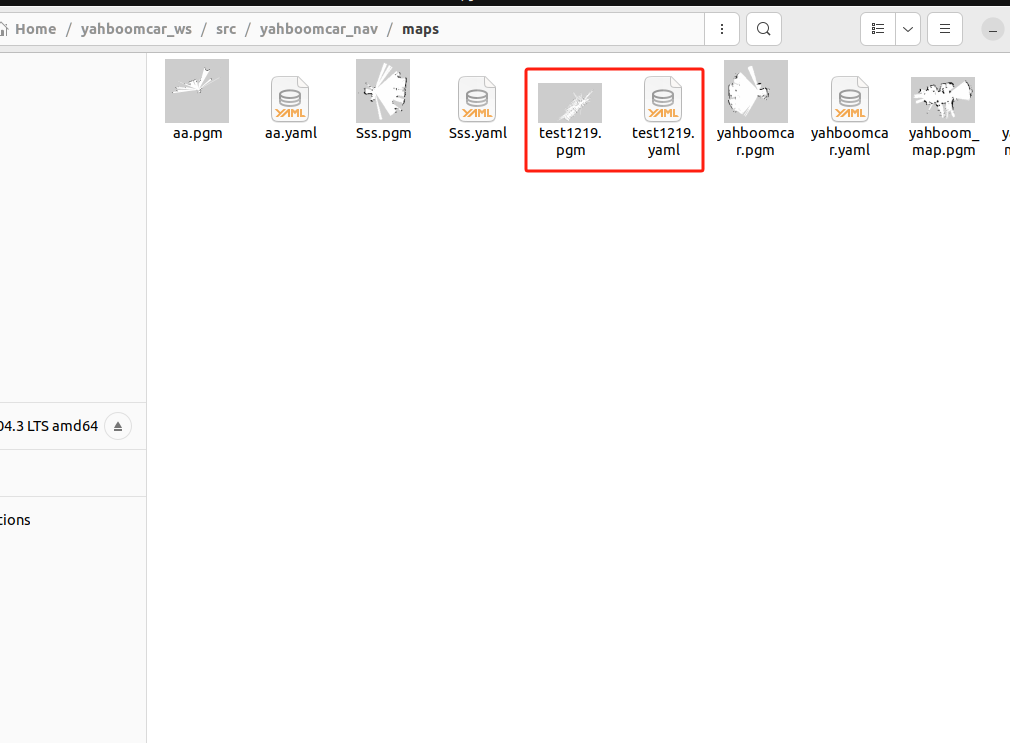
The location where the map is saved is,
xxxxxxxxxx/home/yahboom/yahboomcar_ws/src/yahboomcar_nav/maps
4. Code analysis
Here is an explanation of the launch file that opens the APP mapping, taking gmapping mapping as an example.
map_gmapping_app_launch.xml
xxxxxxxxxx<launch> <include file="$(find-pkg-share rosbridge_server)/launch/rosbridge_websocket_launch.xml"/> <node name="laserscan_to_point_publisher" pkg="laserscan_to_point_publisher" exec="laserscan_to_point_publisher"/> <include file="$(find-pkg-share yahboomcar_nav)/launch/map_gmapping_launch.py"/> <include file="$(find-pkg-share robot_pose_publisher_ros2)/launch/robot_pose_publisher_launch.py"/> <include file="$(find-pkg-share yahboom_app_save_map)/yahboom_app_save_map.launch.py"/></launch>The following launch files and nodes are run here:
- rosbridge_websocket_launch.xml:Open the rosbridge service-related nodes. After starting, you can connect to ROS through the network.
- laserscan_to_point_publisher:Publish the radar point cloud conversion to the APP for visualization
- map_gmapping_launch.py:gmapping mapping program
- robot_pose_publisher_launch.py:Car pose publishing program, the car pose is visualized in the APP
- yahboom_app_save_map.launch.py:Program to save maps