7.SSH remote control
7.1 Get Raspberry Pi IP address
If you have a display:
Connect the Raspberry Pi to the monitor, plug in the Internet cable or connect to wifi. I am connected to wifi at this time. Open the command line terminal under the Raspberry Pi system and enter ifconfig to view our IP address.
Find wlan0 in the picture, and behind inet you can see that the Raspberry Pi's IP address is 192.168.0.66. If you are connected via a network cable, please check the Raspberry Pi's IP address behind inet below eth0.
No screen:
Double-click 【ipscan22.exe】 in 【Remote Login Software】, click Scan in ipscan22, wait until the scanning progress bar is completed, you can find the address information of the manufacturer Raspberry Pi Foundation, confirm that it is powered on and remember this information IP.
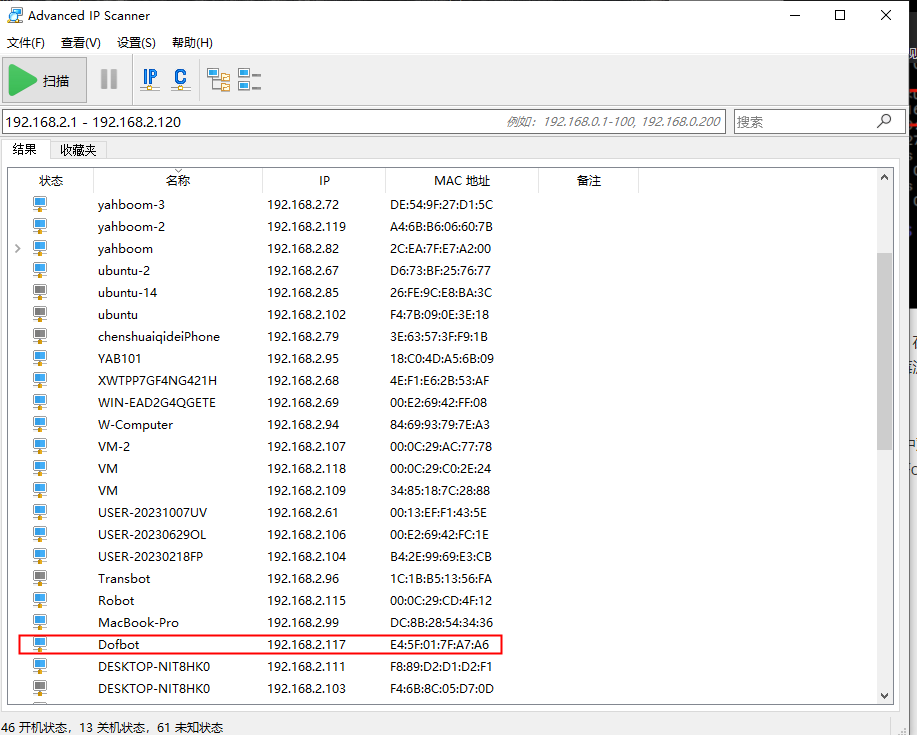
From the picture, we know that the current IP address of Raspberry Pi is: 192.168.2.117
7.2. Enable SSH service
The official system image has the SSH service turned off by default, so you need to enable the SSH service before logging in remotely.
If you have a display:
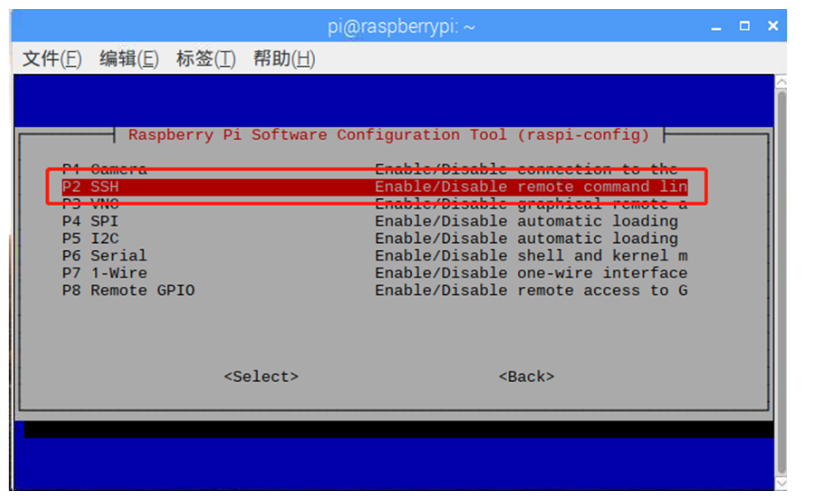
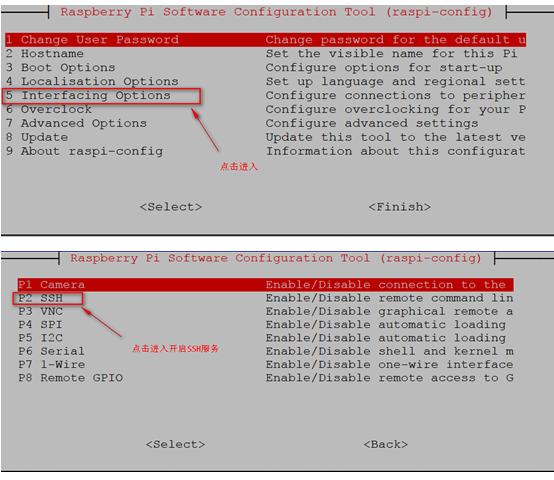
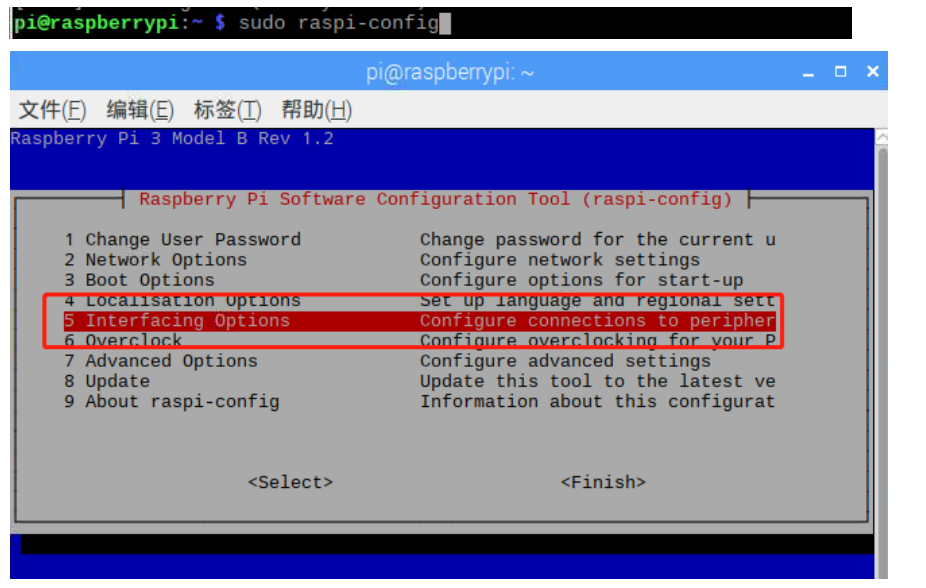
Enter sudo raspi-config on the command line and press Enter, as shown in the figure below

Select 【5 Interfacing Options】 and press the 【Enter key】.

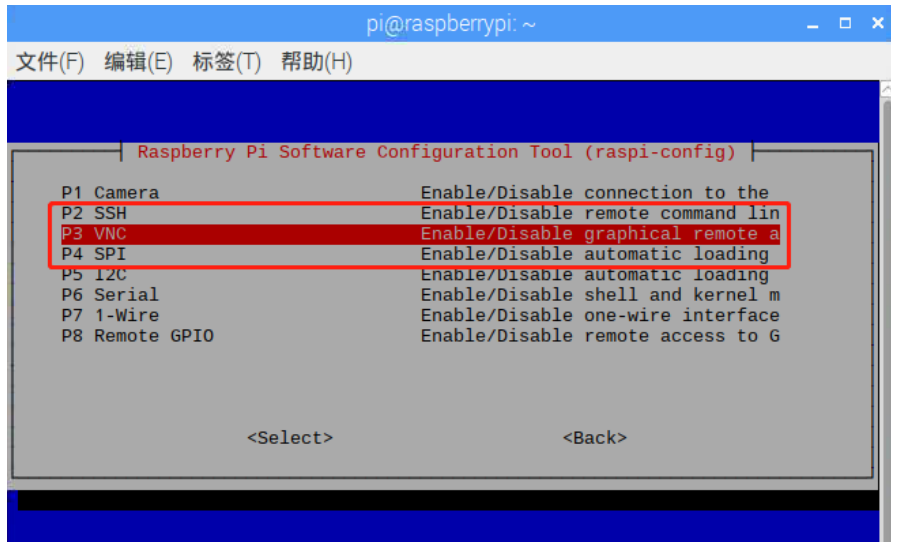
Select 【P2 SSH】 and press the 【Enter key】.
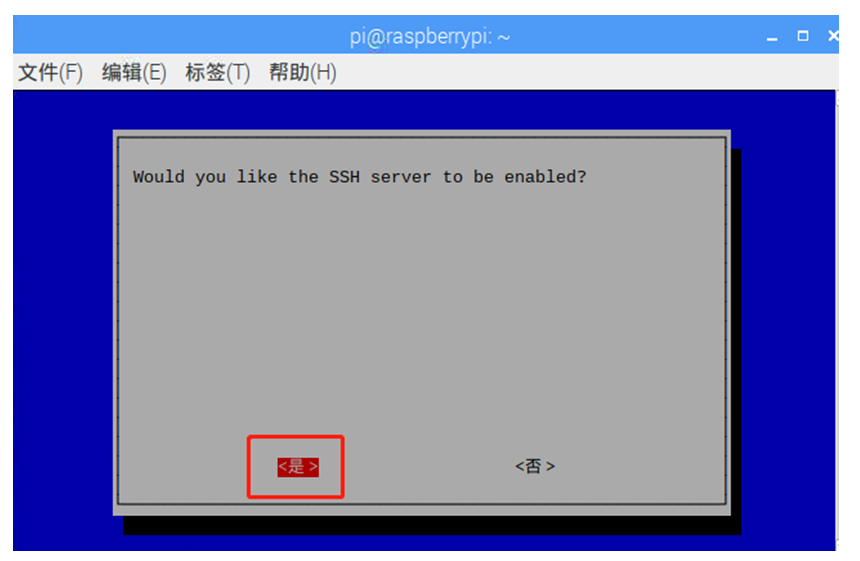
Select 【YES】 and press the 【Enter key】.
Finally, click 【Finish】 to complete and wait for the restart.
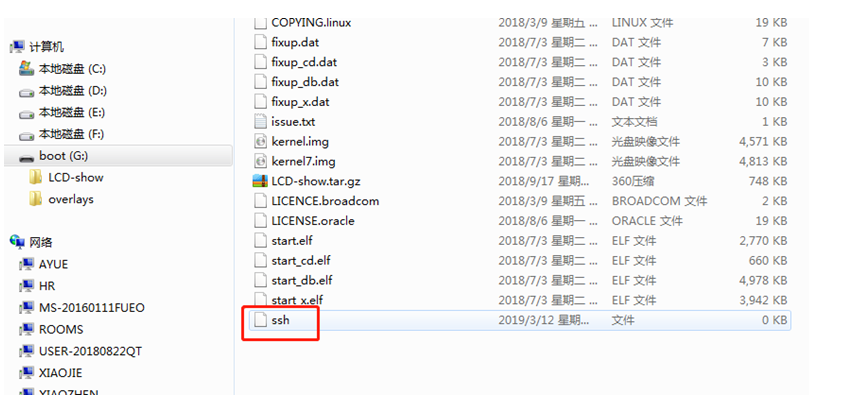
If you didn't have a display:
Connect the SD card to the computer using a card reader, open the SD card drive letter, and directly create a new "SSH" file (no suffix). As shown below.
Some users may still be unable to start the remote service after creating a new blank ssh file. The solution in this case is to directly use the enabled SSH image we provide.
7.3 SSH remote login
In order to facilitate development, we choose to use SSH to remotely log in to operate the Raspberry Pi. The following are the steps to configure SSH.
First, open the command terminal in the Raspberry Pi graphical interface. We first enable root permissions. You can omit entering sudo every time, and you can operate files freely.
Note: In fact, the official Raspberry Pi system does not enable the SSH service. We need to manually enable the SSH service. We need to enter sudo raspi-config on the command line terminal on the HDMI display to enter the Raspberry Pi system configuration interface.
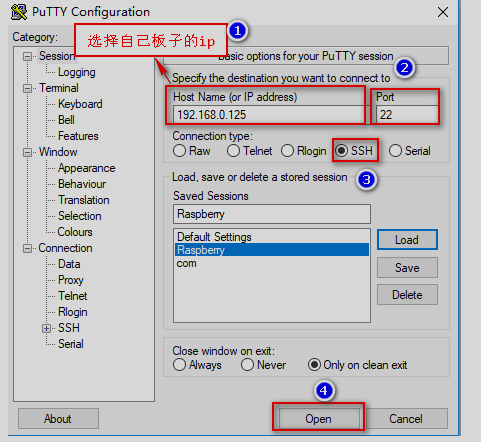
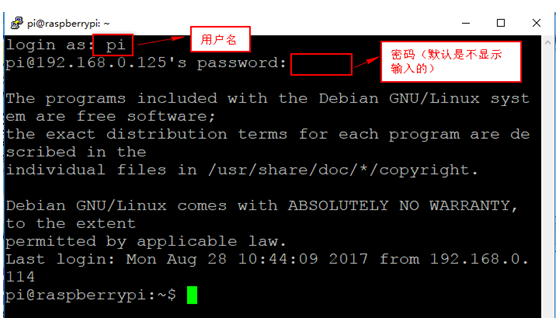
At this point, we can remotely log in to the Raspberry Pi operating system through the putty software SSH service.
7.4 VNC remote login desktop
- Start the VNC service
Enter sudo raspi-config on the command line and press 【Enter】, as shown below.
Interfacing Options -> VNC -> Yes.
The system will then prompt you whether you want to install the VNC service. Enter y and press Enter. Wait for the system to automatically download and install.
- VNC Remote Desktop
Double-click [VNC-Viewer-6.19.107-Windows.exe] in [Remote Login Software] to install VNC-Viewer. After the installation is complete, double-click VNC-Viewer on the desktop to open the software, and select file->New connection.

Fill in the Raspberry Pi's IP address +:0 in the VNC Server column. For example, my Raspberry Pi IP address is: 192.168.1.66, then I fill in the VNC Server column: 192.168.1.66:0, and click OK.
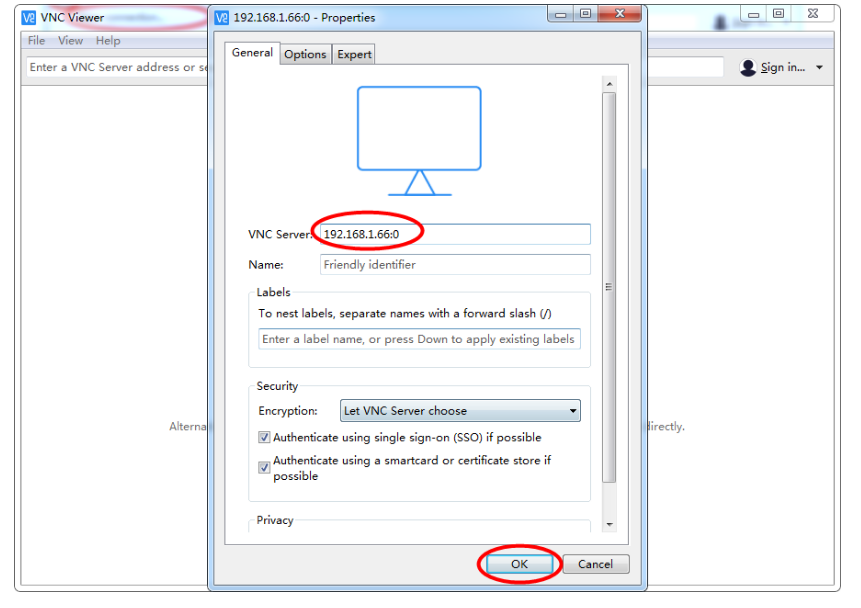
Note: If the login fails, you can change the last digit of the login IP address to 1, for example: 192.168.1.66:1
Double-click the computer icon to connect, fill in the username and password of the Raspberry Pi system, the username is pi, and the password is raspberry or yahboom.
The official image password is raspberry
Yahboom image password is yahboom

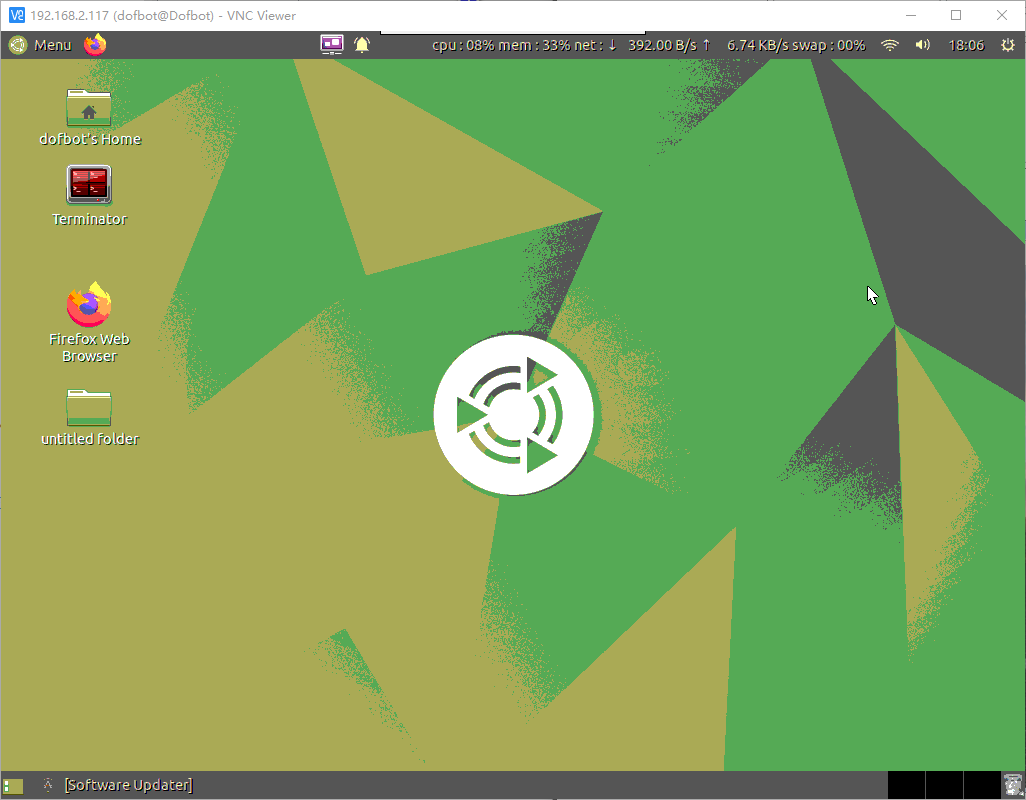
Next, you enter the remote desktop interface. As shown below.