SLAM Lidar ROS2
Note: This section supports the following lidar models: A1/A2/A3/S1/S2; The baud rates are different between A1/A2<115200>, A3/S1<256000> and S2<1000000>
SLAM Lidar ROS21、Remap the USB serial port2、Terminal test3、rviz2 Visual test4、gmapping Build diagram test
ROS 2 official website:https://docs.ros.org/
Lidar ROS2:https://www.slamtec.com/cn/Support#rplidar-a-series
Lidar official website:http://www.slamtec.com/cn/Support
Device : PC;A1M8
Environment :Ubuntu18.04;ROS2(eloquent)
New Workspace
mkdir -p my_ws/srcWhen the lidar is used, it is necessary to enter the workspace each time the command is executed
xxxxxxxxxxcd ~/my_wsDecompress the [silanlidar_ros2.zip] function package and put it in the src folder of your workspace. Open the terminal in the workspace
xxxxxxxxxxcolcon build # compilesource install/setup.bash # Update the environmentNote: Every time a new terminal is opened, it needs to [update the environment]. Every time the code in the function pack is changed, it needs to [re-compile] and then update the environment.
1、Remap the USB serial port
To perform this step, run the installation USB port remapping command in the scripts folder of the sllidar_ros2 function package
xxxxxxxxxxcd ~/my_ws/src/sllidar_ros2/scriptssudo chmod 777 *./create_udev_rules.shUse the following command to view the modified remapping
xxxxxxxxxxls -l /dev | grep ttyUSB

2、Terminal test
Step one, activate the corresponding lidar
xxxxxxxxxxros2 launch sllidar_ros2 sllidar_launch.py # RPLIDAR A1/A2ros2 launch sllidar_ros2 sllidar_a3_launch.py # RPLIDAR A3ros2 launch sllidar_ros2 sllidar_s1_launch.py # RPLIDAR S1ros2 launch sllidar_ros2 sllidar_s2_launch.py # RPLIDAR S2Second, start the test application
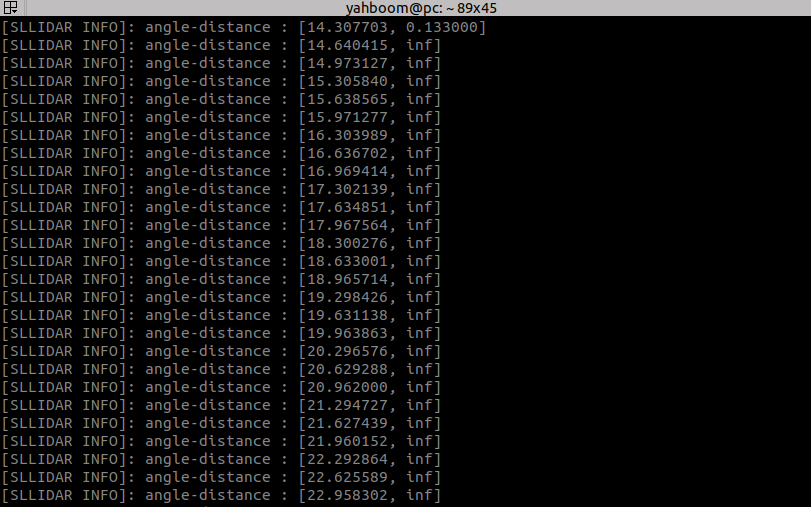
xxxxxxxxxxrosrun rplidar_ros rplidarNodeClient
You should see the rPLidar scan results in the console
3、rviz2 Visual test
xxxxxxxxxxros2 launch sllidar_ros2 view_sllidar_launch.py # RPLIDAR A1/A2ros2 launch sllidar_ros2 view_sllidar_a3_launch.py # RPLIDAR A3ros2 launch sllidar_ros2 view_sllidar_s1_launch.py # RPLIDAR S1ros2 launch sllidar_ros2 view_sllidar_s2_launch.py # RPLIDAR S2You should see the lidar scan results in rviz2

Note: the [Fixed Frame] coordinate system and [LaserScan] topics should be consistent with those published.
4、gmapping Build diagram test
Step one, activate the corresponding lidar
xxxxxxxxxxros2 launch sllidar_ros2 sllidar_launch.py # RPLIDAR A1/A2ros2 launch sllidar_ros2 sllidar_a3_launch.py # RPLIDAR A3ros2 launch sllidar_ros2 sllidar_s1_launch.py # RPLIDAR S1ros2 launch sllidar_ros2 sllidar_s2_launch.py # RPLIDAR S2Second, start gmapping
xxxxxxxxxxros2 launch sllidar_ros2 gmapping_launch.py # Otherros2 launch sllidar_ros2 gmapping_s2_launch.py # S2You should see the result in rviz2
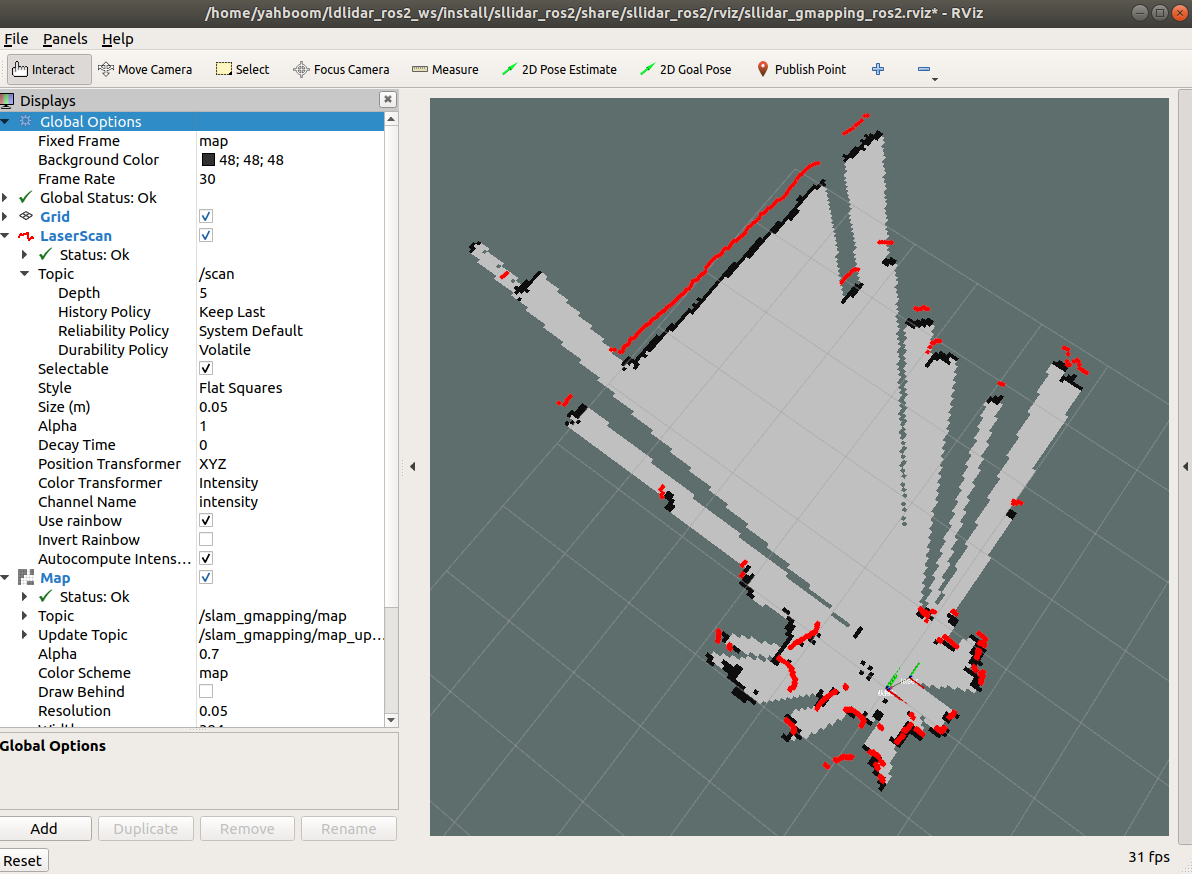
Note: [Fixed Frame] coordinate system, [LaserScan] topic, [map] topic should be the same as published.